Art Process
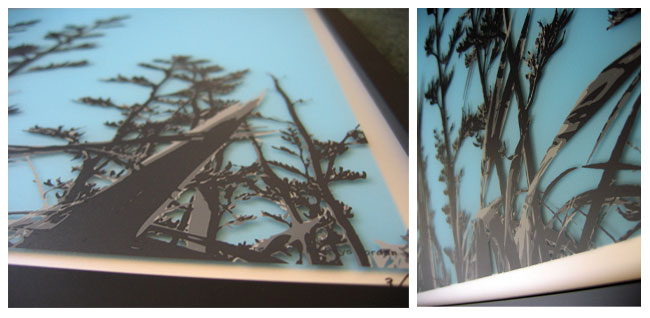
My art is printed onto 3mm thick clear matt acrylic. I print in the old school method of hand printing as it gives me more control over how my prints look. I print both sides of the panel to give the illusion of depth (which is hard to show through photos and I do prefer that people look at my art in person if possible).
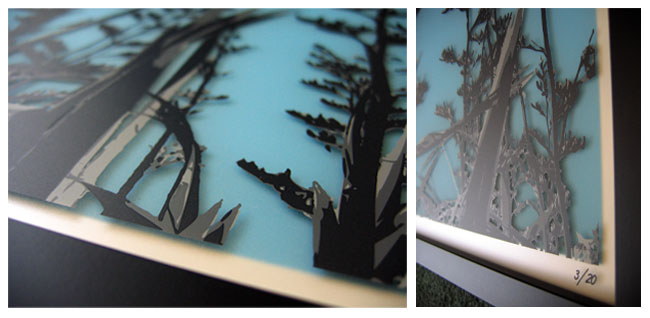
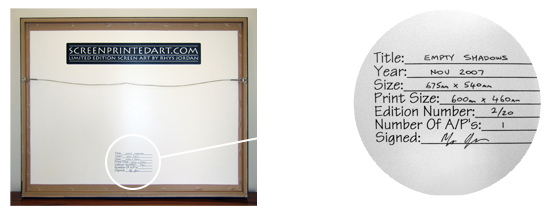
All art is numbered and hand signed on the back.
My Art Process
1. Find interesting places/ideas and take photos.
2. Load the photos into the computer and with a software program change the image into 1-10 colours from the standard 256 colour photo.
3. In another program refine the image and also move colours between different colour layers until I get the look I am after.
4. Separate colours into their own layer, make each colour into black so it is ready to be made into a film positive.
5. Output film positives for each colour.
6. Coat and expose the screen, check and touch up.
7. Set up screen into position on hand bench, mix ink colour and test.
8. Print image onto material, put onto drying rack to dry.
9. Repeat steps 6,7 and 8 for each colour.
10. Print edition number onto each panel.
11. Set up screen for back board panel and print.
12. Get picture framed.
Please note that this is a very simplistic brake down of what is done.
My art is also done in very limited editions, runs of 20 for small prints and 10 for larger prints.